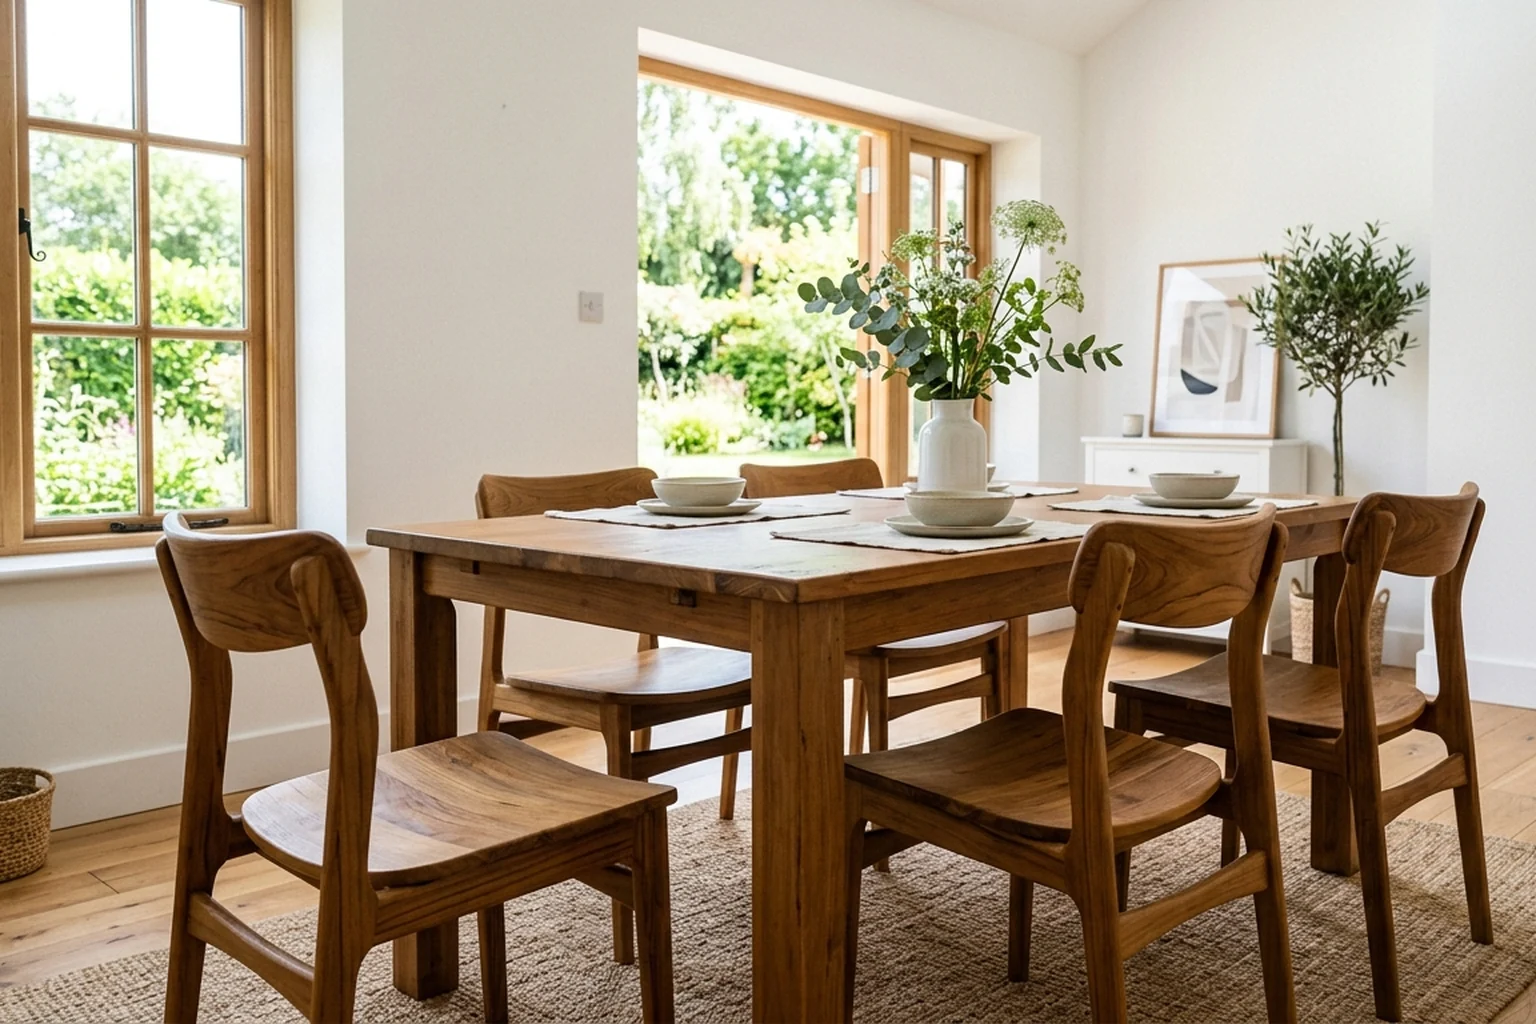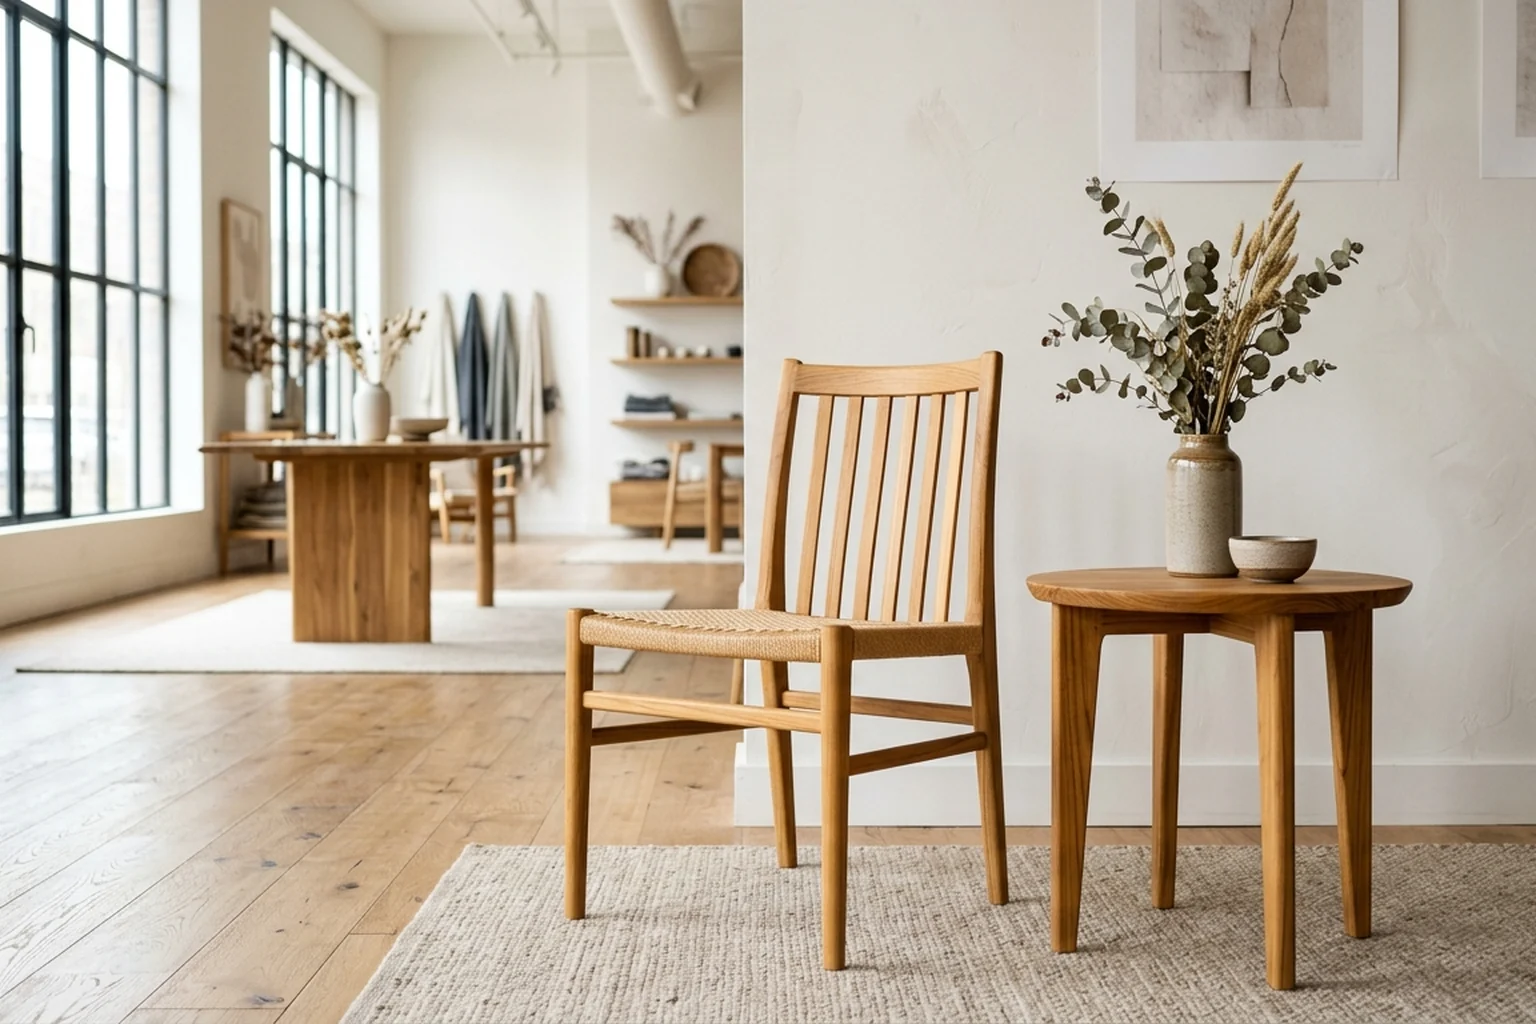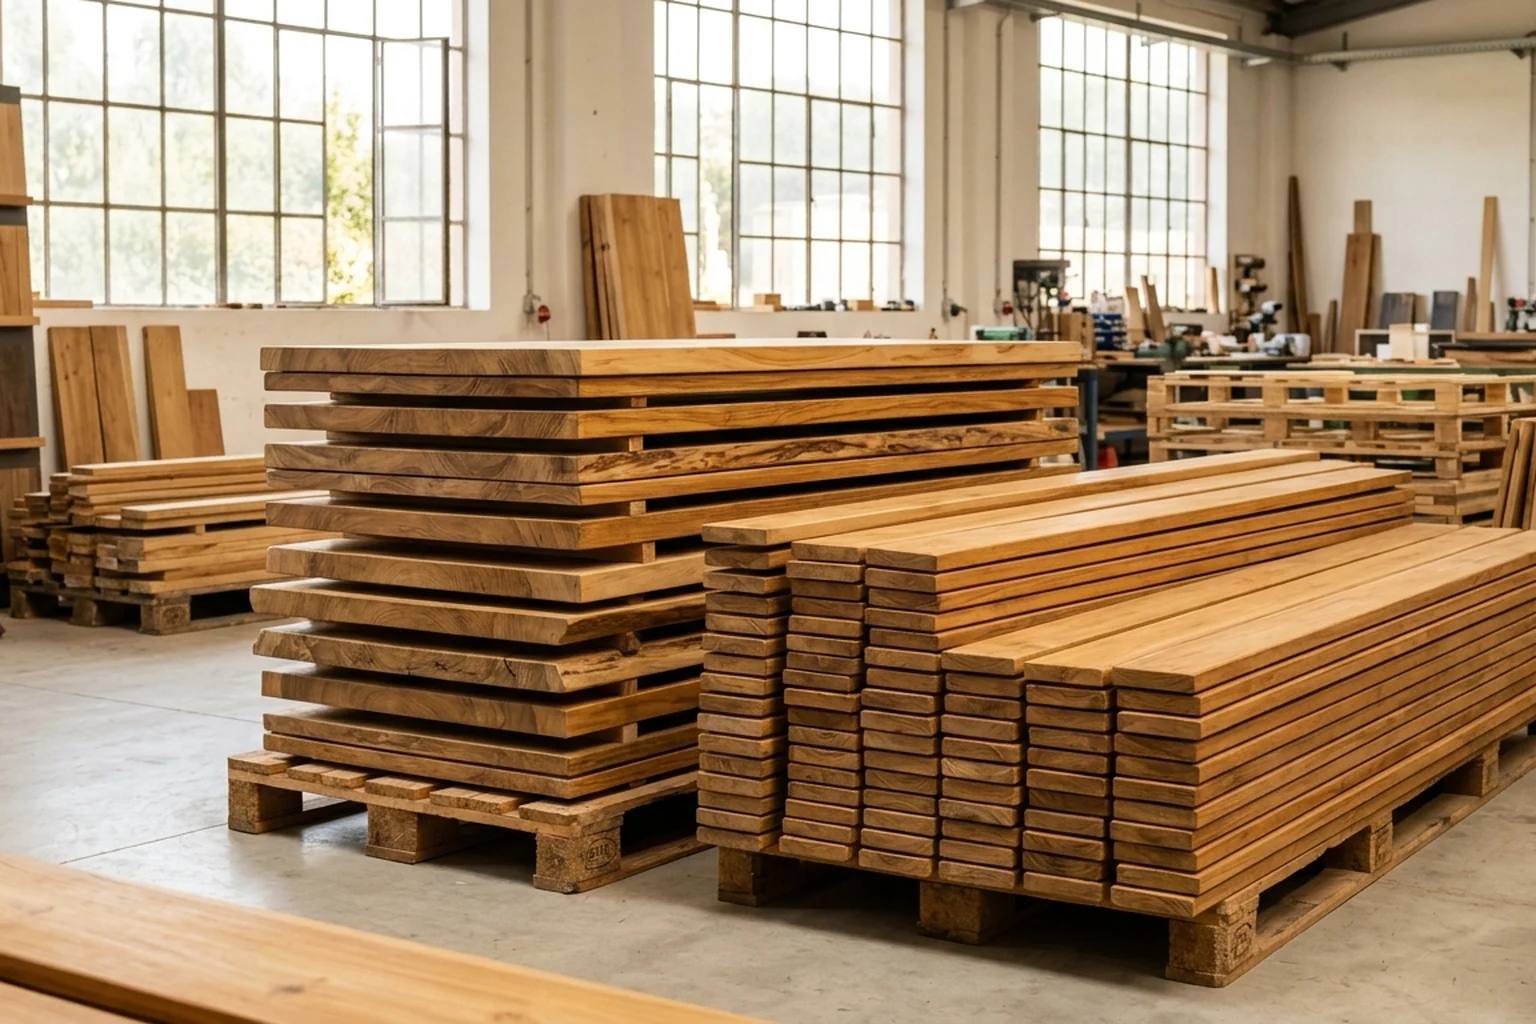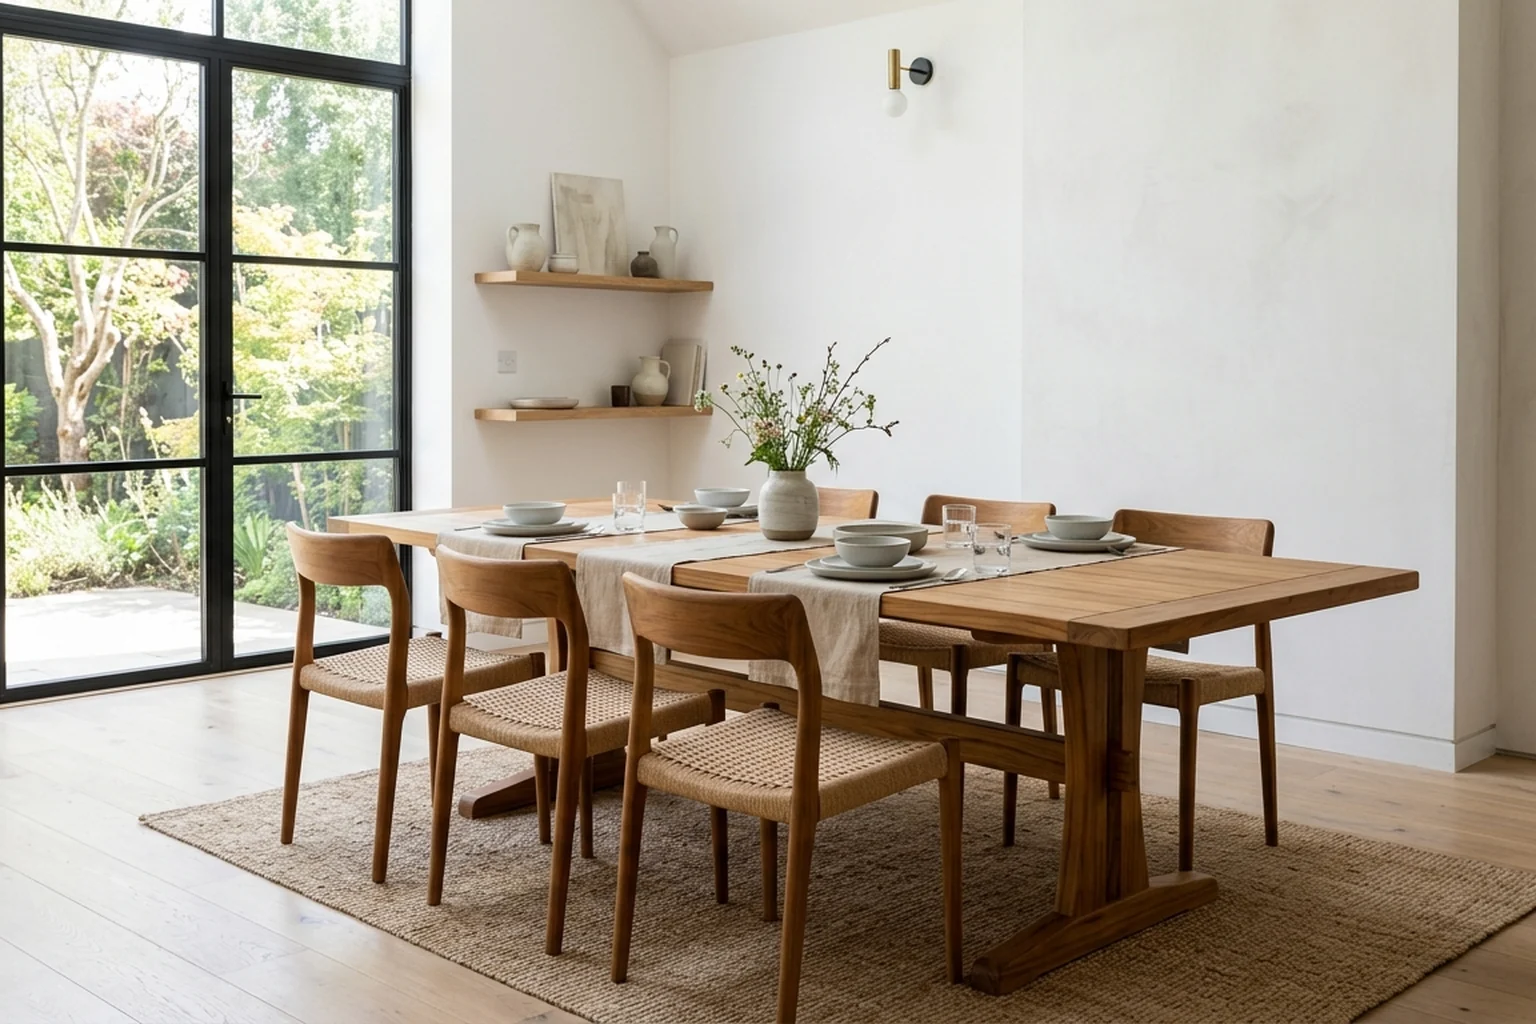

The short answer
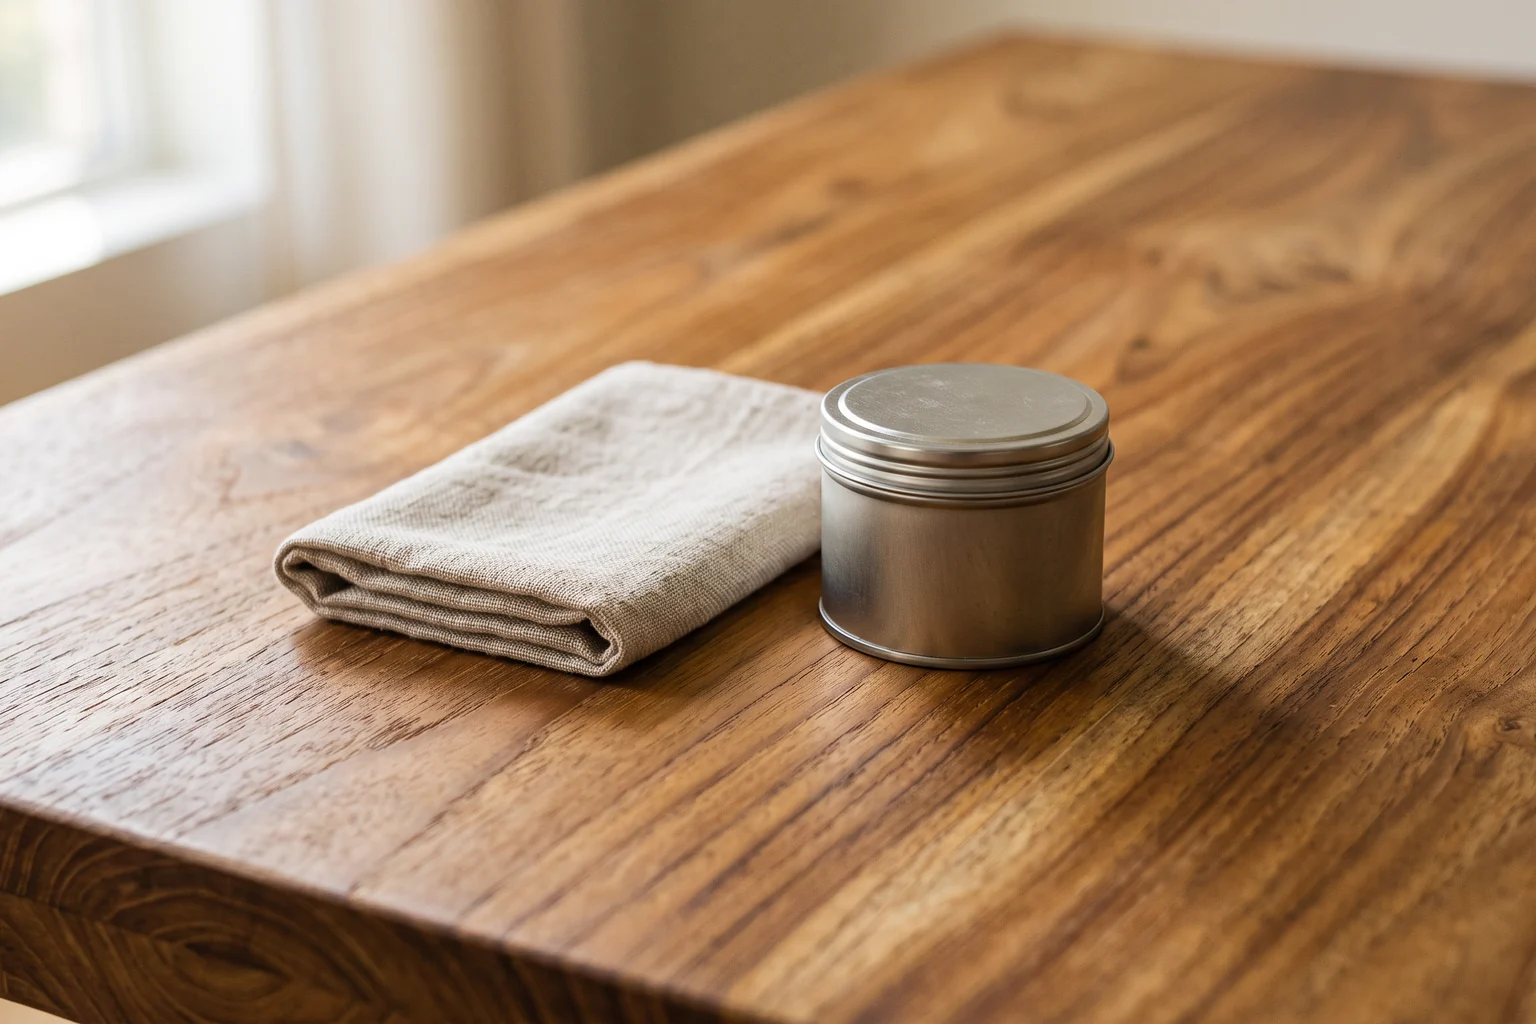
Dust with a soft dry cloth, wipe spills promptly, use a barely damp cloth with mild soap when needed and dry the surface afterwards. Keep indoor teak away from persistent damp, direct air-conditioning and strong sun where practical. Do not apply oil, wax or aggressive cleaner until you know the existing finish.
1. Find out what finish you are caring for
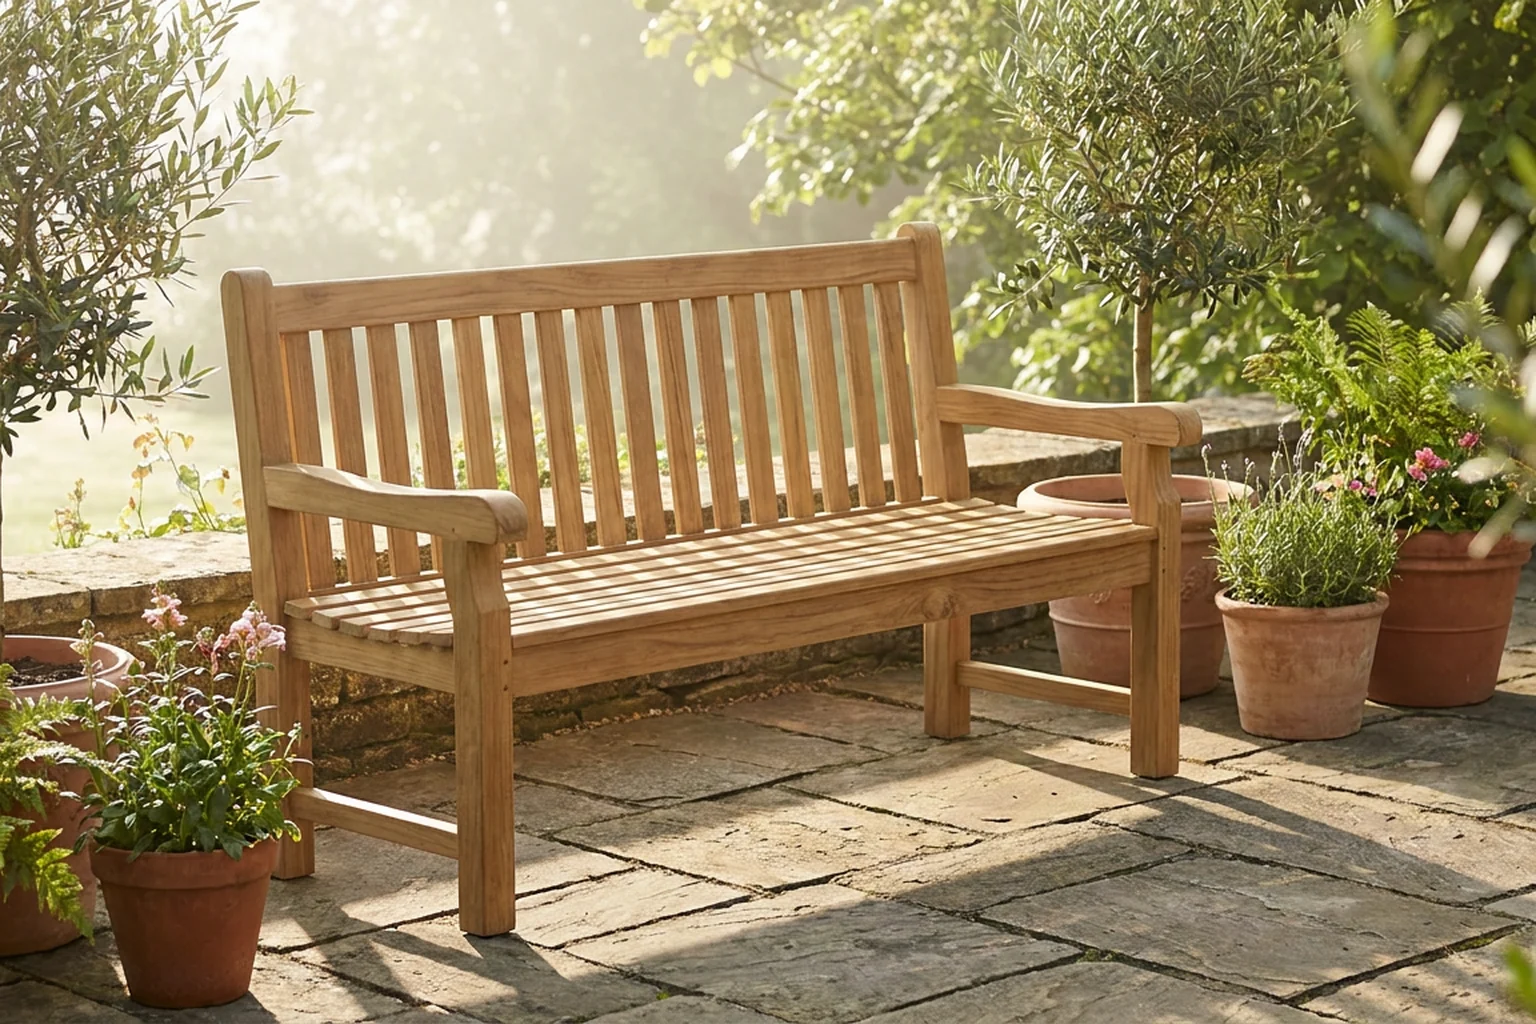
Teak furniture may be unfinished, oiled, waxed, sealed or coated. Each surface responds differently to water and maintenance products. Before applying anything, ask the maker or seller what finish was used and request the matching care instructions.
If the finish is unknown, begin conservatively. Test any cleaning method on a hidden area and avoid products that promise instant shine or colour restoration. Adding an incompatible oil or polish can create uneven colour, a sticky surface or a layer that complicates later repair.
2. Use a gentle everyday routine
Remove dust with a clean, soft cloth, following the grain where practical. For ordinary marks, use a well-wrung cloth with clean water. If more cleaning is needed, add a small amount of mild soap, then wipe again with a clean damp cloth and dry the surface.
Avoid soaking joints, woven cane, end grain and natural openings. Do not use abrasive pads, harsh household chemicals or concentrated alcohol unless the finish provider specifically confirms they are safe. Spray cleaner onto the cloth rather than directly onto the furniture.
- Soft lint-free cloth
- Clean water
- Small amount of mild soap when necessary
- A second dry cloth
- Coasters, trivets and placemats for daily protection
3. Treat spills as a timing problem
Blot liquid promptly instead of rubbing it across the surface. Lift away solids, then work from the outside of the mark towards the centre with the gentlest method suitable for the finish. Dry the area and allow airflow around it.
Hot dishes, wet glasses, plant pots and fragranced oils can all leave marks. Use barriers under them and check occasionally for trapped condensation. If a stain, white ring or finish damage remains, photograph it in good light and ask the maker or a furniture restorer before sanding or applying a stronger product.
4. Manage humidity with airflow, not panic
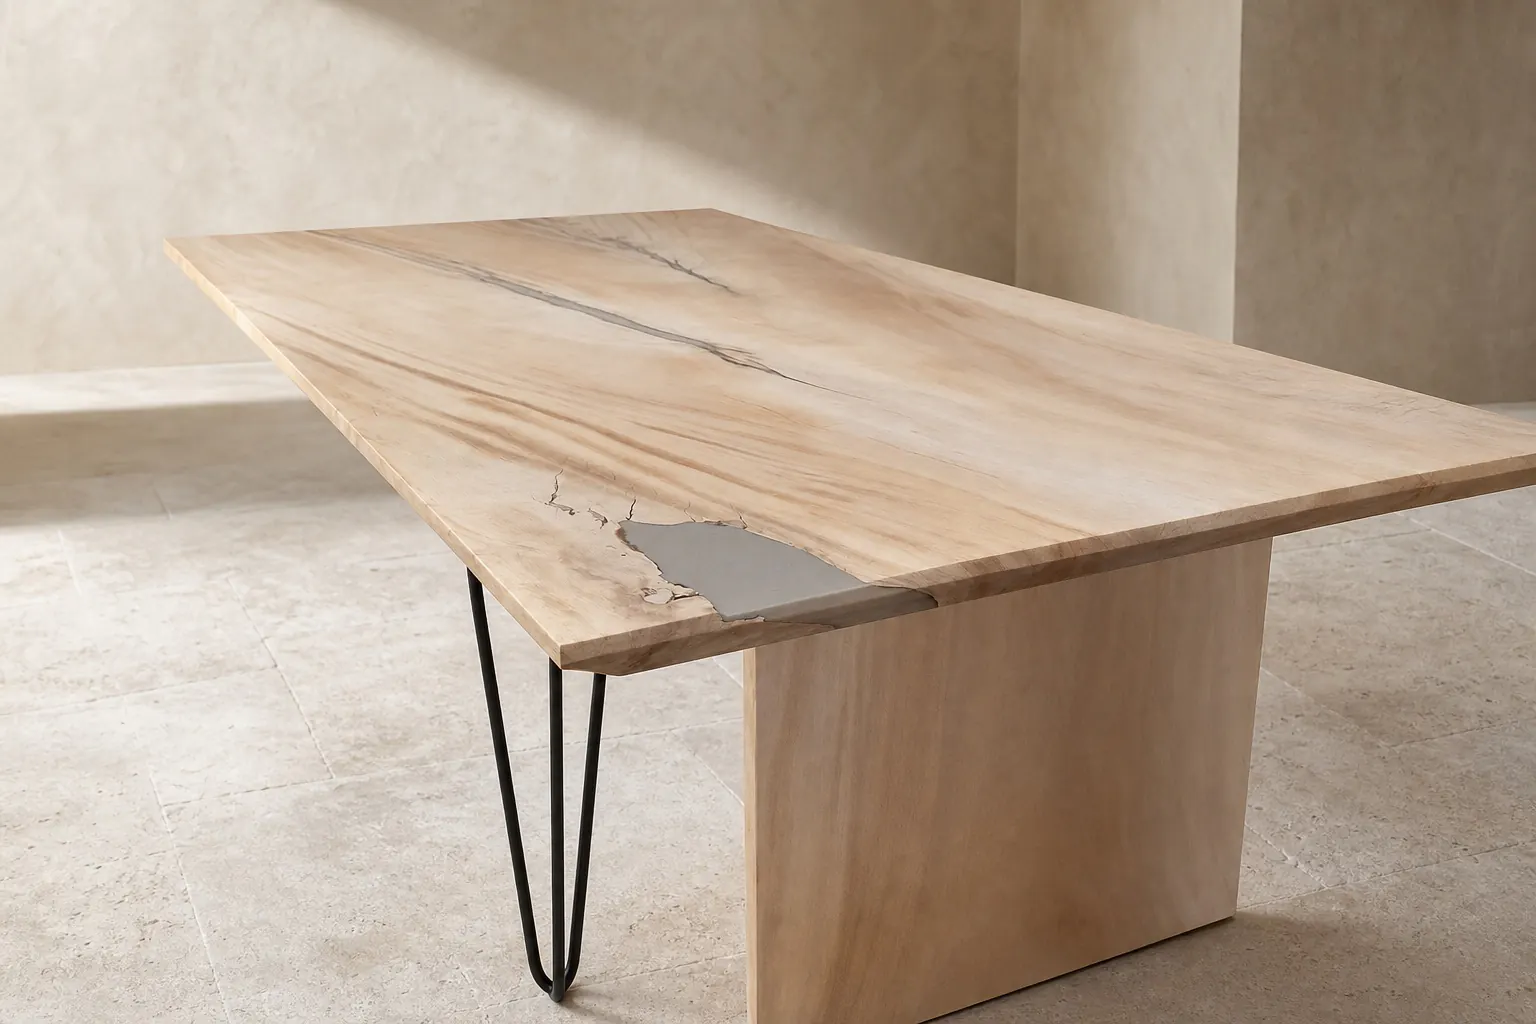
Seasonal humidity can make doors or drawers feel tighter and may reveal small changes around joints or natural checks. Keep the room ventilated, avoid pressing furniture directly against a persistently damp wall and leave air space around the back of cabinets.
Air-conditioning can reduce humidity, but a strong stream directed continuously at one part of a solid-wood piece may create uneven conditions. Aim for a reasonably stable room environment rather than rapid swings between hot, humid air and intense cooling.
5. Expect light to change the colour
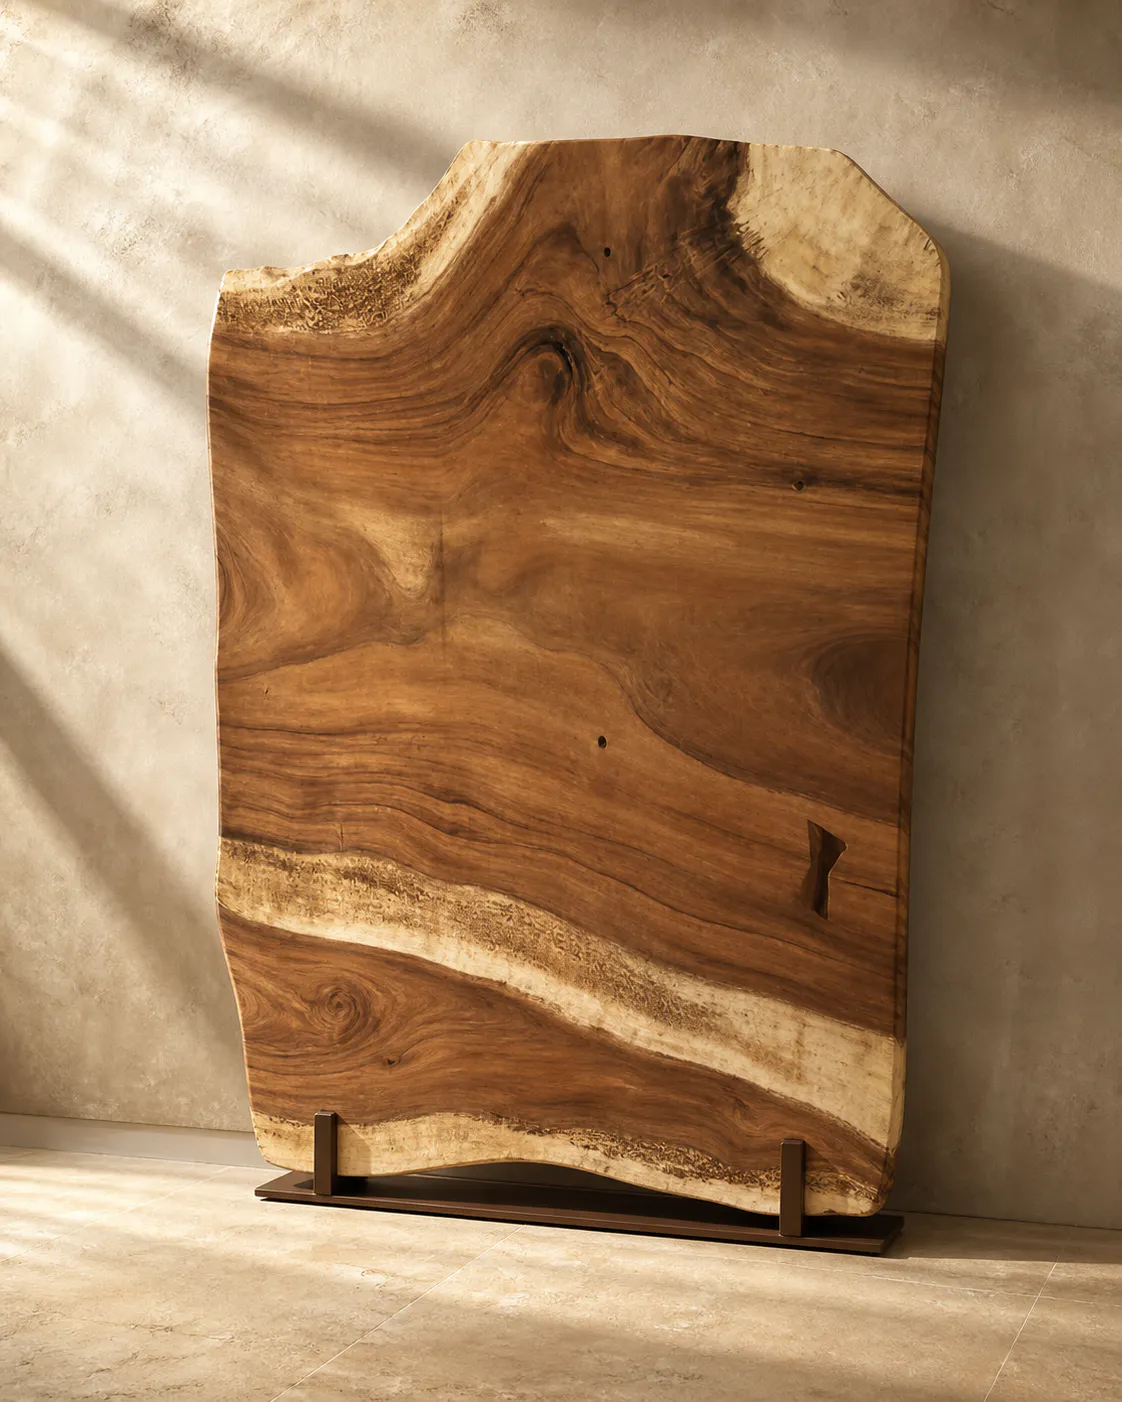
Wood colour develops with exposure to light and air. Strong sunlight can make that change happen unevenly, especially when one area is covered for months. Use curtains or filtered light where practical and rotate decorative objects occasionally so the surface ages more evenly.
Do not treat every colour change as damage. Patina is part of living with natural material. The point is to avoid sharp, avoidable contrast and surface overheating, not to freeze the furniture at its delivery-day colour.
6. Respond early to musty smells or surface growth
A musty smell, persistent dampness or spotted surface deserves attention. Improve ventilation, move the piece away from the damp source and inspect the wall, floor and back panels. Wear appropriate protection and avoid spreading dry spores through the room.
Small surface issues and established mould are not the same problem. If growth returns, covers a large area, reaches upholstery or cane, or anyone in the space is sensitive to mould, use a qualified cleaning or restoration professional and address the moisture source first.
7. Move solid-wood furniture deliberately
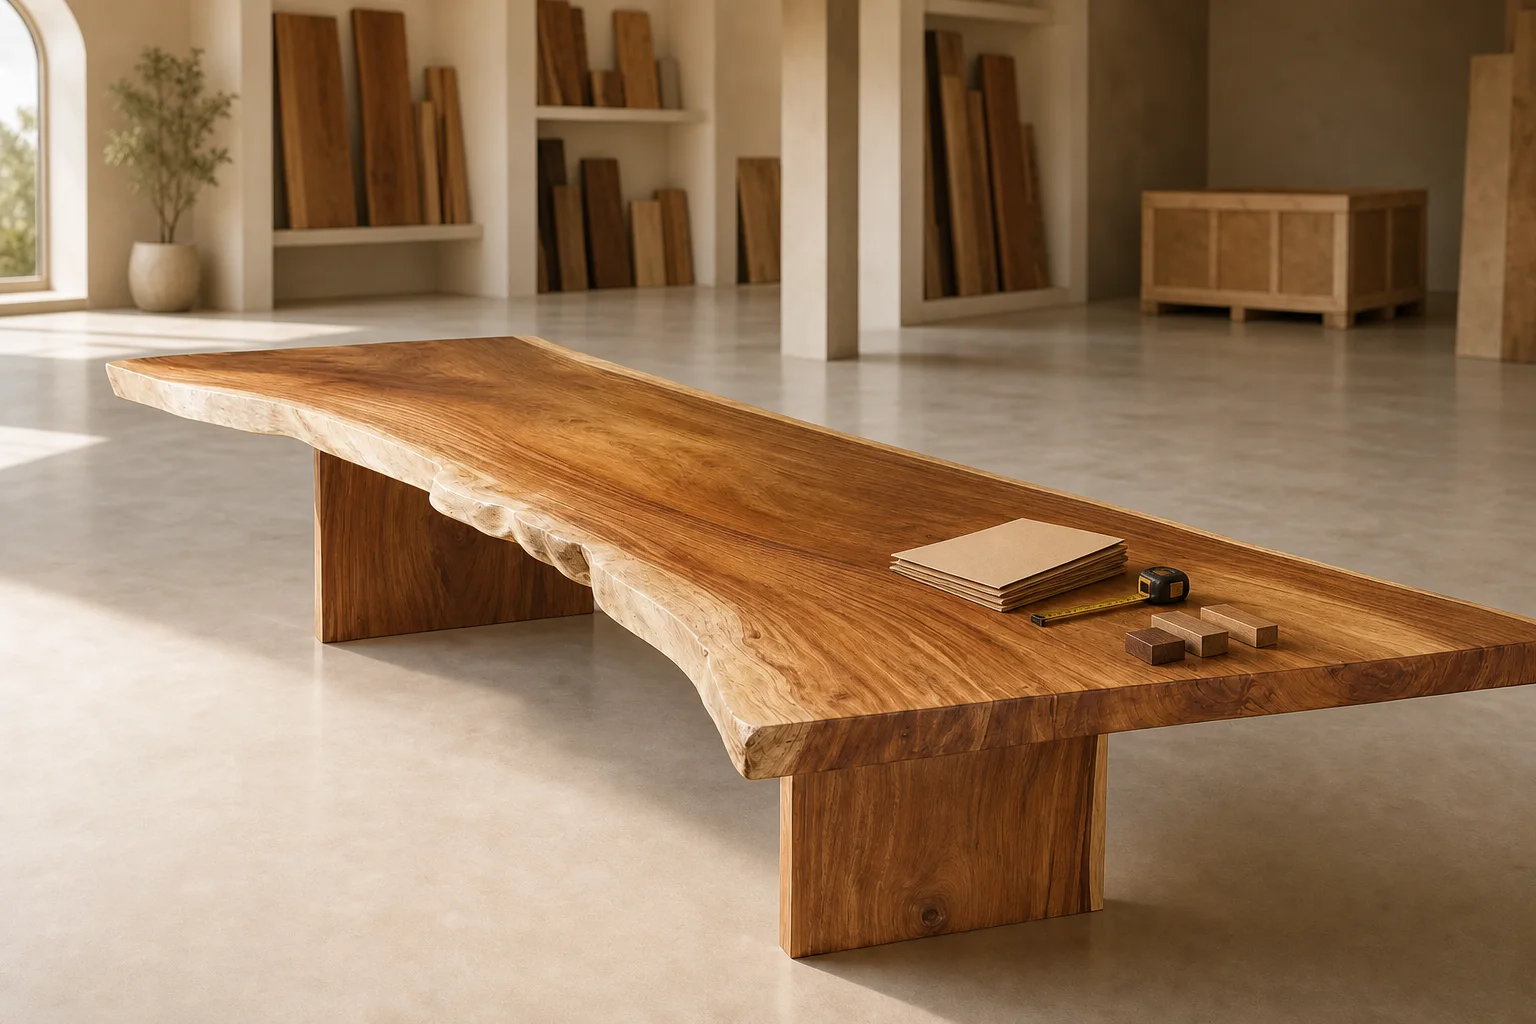
Lift furniture from its structural base; do not drag it by the top, doors or arms. Empty cabinets before moving them and secure removable shelves. For large slab tables, ask how the top and base are connected before attempting to separate or reposition them.
Use felt or suitable glides where they are compatible with the floor, and check them as they collect grit. Large pieces may need several people or professional handling. Protecting the furniture also means protecting door frames, walls and finished floors along the route.
8. Know when to stop and ask
Deep cracks that are moving, loose joints, lifting finish, widespread mould, water damage and unstable bases require diagnosis rather than another cleaning product. Stop using the item if its stability is uncertain.
Send clear photographs of the whole piece, the affected area and the surrounding conditions. Include when the change appeared, what touched the surface and which products have already been used. That context helps the maker or restorer recommend a safer next step.
Good care is mostly good observation
Teak does not need constant intervention. It benefits from a stable setting, gentle cleaning and attention to small changes before they become larger problems. Keep the original finish information with your purchase records so future maintenance begins with facts rather than guesswork.