
The short answer
Assess the piece before touching it, clean with a gentle teak-safe cleaner, sand lightly in the direction of the grain, repair any loose joints, then apply a finish that suits how the piece is used. Deep water damage, structural cracks and loose or broken joints are jobs for a professional. Never sand through the good wood chasing the bad; the goal is to lift the surface, not to remove it.
1. Assess before you touch anything
Look at the whole piece first: surface condition, joints, legs, and any signs of water damage, sun bleaching or old finish failure. Decide what the piece needs, not just what you want it to look like. A table with loose legs needs structural work before it needs oil, and no amount of finishing fixes a broken joint.
Photograph the piece before you start. The pictures help you track progress and, if you hand the work to a professional, give the restorer a clear starting point.
- Surface: scratches, stains, bleaching, old finish
- Structure: joints, legs, rails, any movement
- Water damage: dark patches, soft spots, swelling
- What the piece needs: refinish, repair, or both
2. Clean gently, not aggressively
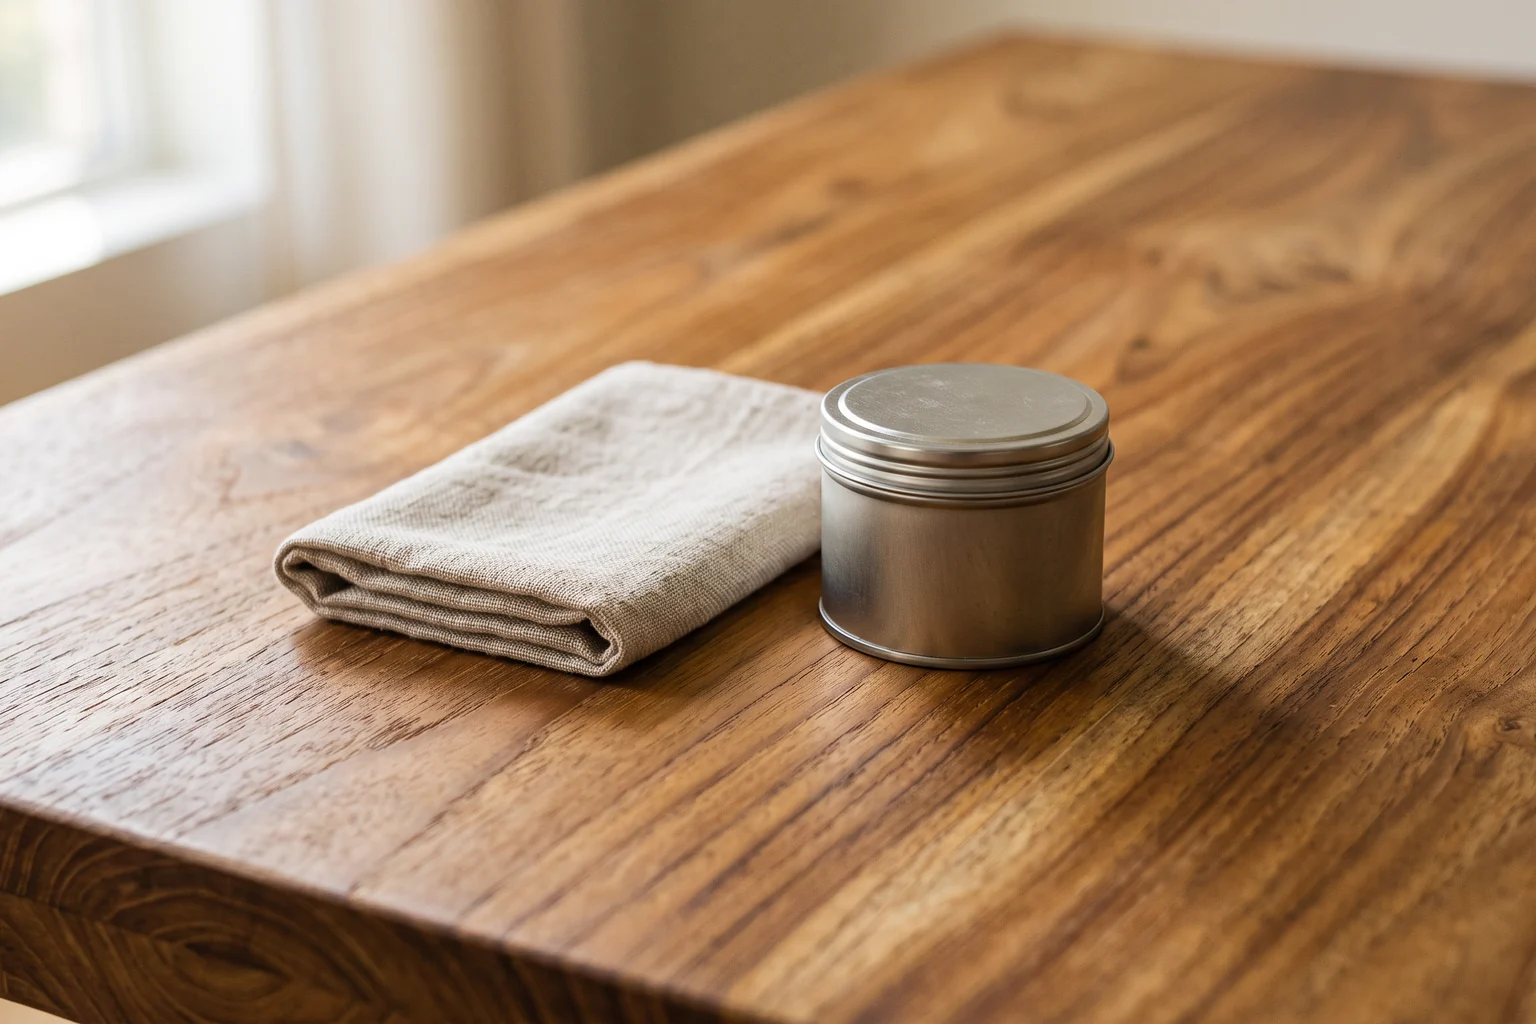
Dirt and old wax can make a piece look far worse than it is. Clean with a soft cloth and a mild cleaner suitable for teak, working with the grain. Avoid harsh chemical strippers unless the old finish is failing badly; they can strip natural oils along with the finish.
Let the wood dry completely after cleaning. Teak takes time to release moisture, and finishing over damp wood traps the problem under the new surface.
3. Sand lightly, with the grain
Sanding teak should be gentle. Use a fine grit and always work in the direction of the grain, starting with the coarsest grit needed and moving to finer grits. The goal is to lift scratches and level the surface, not to remove the patina or round off edges.
If you are working around live edges, details or carved areas, sand by hand. Power sanding is efficient on flat surfaces but unforgiving on details, and removing too much wood is the one mistake that cannot be easily reversed.
4. Repair structure before surface
Loose joints should be glued and clamped properly, with the old glue removed first. Small cracks can be stabilised and filled carefully; larger movement, warping or water-swollen areas need a professional assessment. Structural honesty comes before cosmetic finish.
For valuable or antique pieces, keep original material where possible and let a restorer decide what to preserve, replace or rebuild. Good restoration is about keeping as much of the original piece as is honest and sound.
5. Choose the right finish for the use
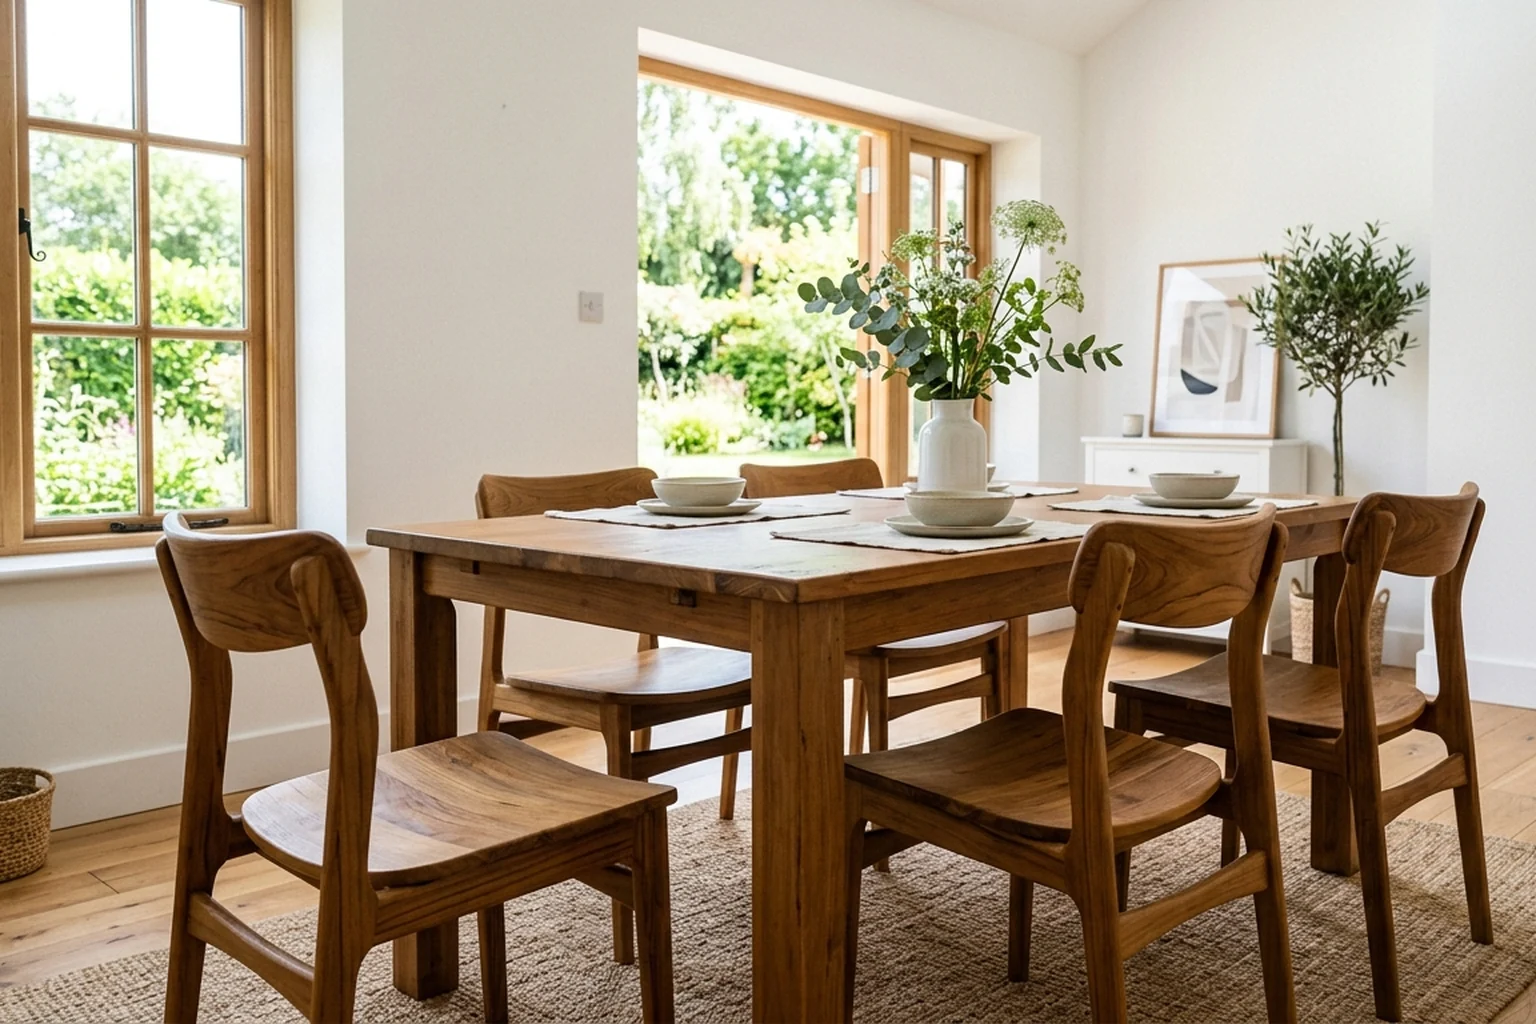
Teak is naturally oily, so it needs less finish than most woods, but it still needs protection for daily use. For a dining table, discuss water resistance, heat precautions and how local repairs are handled; for display pieces, a lighter oil or wax may be enough.
Whatever the finish, test it on an unseen area first. Colour, sheen and feel vary between products, and photographs do not show the difference. Ask for a physical sample when the piece matters.
6. Protect the result
After restoration, protect the piece with simple habits: keep it out of direct sunlight, use coasters and placemats, wipe spills promptly and maintain the finish on schedule. Teak responds to humidity and sunlight, so placement is part of care.
If the piece will travel or be exported, ask how it should be packed and whether the finish is suitable for the destination climate. Species, source records and export eligibility should be confirmed for the exact piece before any cross-border order.
Restore with restraint
Most teak furniture can be restored, and the best restoration is the most restrained: assess honestly, clean gently, sand lightly, repair properly and finish for the real use. When in doubt about structure or value, call a professional before you remove wood you cannot put back.